Setting Up A Local Test Server
You Need A Test Server
You're probably looking at this page thinking "I already have a server, why else would I be here?" ... Most people have a server, but most people should have a production server, and a test server. What's the difference?
The production server is the one that players can join, which you probably don't want to crash or bug out unexpectedly.
The test server is one that only you and maybe one friend will ever be on at any time, which is fine to crash or otherwise break.
When you're writing scripts, especially when you're new, it's quite possible to accidentally do something that crashes a server, or does something hilarious like making grass explode every time you break it... keep it to a test server, so you don't accidentally ruin any players' day with the experimentation.
You Should Probably Have It Local
Some people already have a remote test server... that's actually more properly referred to as a 'staging server' - that is, a server where everything is set up like it would be a production server, but without players in the way. A test server is one you can delete, trash, empty, twist around, or whatever else on the slightest whim without anyone else being involved.
The easiest and best way to do this is to just run a server on your local computer (don't worry, it's really easy).
How Do I Set Up A Local Server
It's pretty simple! Let's go through the steps...
Fair warning that this guide is focused on Windows PCs, as they are the most common (but will note differences for other OS's where applicable).
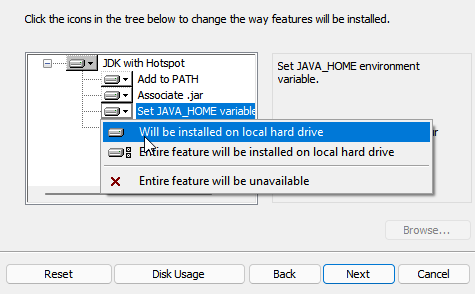
Step 0: Install Java. You might not already have Java installed on your PC - if not, you'll need to have it installed. You can download OpenJDK 21 from here. (for Linux/Mac, just google how to download OpenJDK 21 for your specific OS/Distro). When installing, make sure to enable the options "Add to PATH" and "Set JAVA_HOME variable". Note that the correct Java version to install depends on your Minecraft server version. Current versions use JDK 21, in recent previous versions JDK 17 was used, in the distance past Java 8 used to be the usual version.
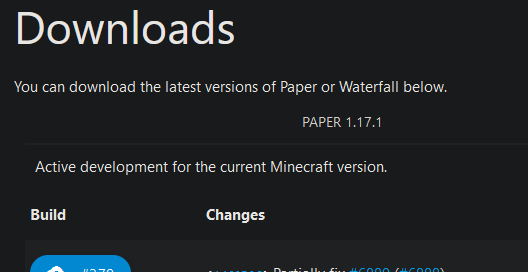
Step 1: Download a server jar. Conventionally, this would be Spigot ... however, Spigot is a bit of a pain to get downloaded properly. You can read the BuildTools Wiki Page if you want to do that, but I recommend instead just using Paper, which is an easy click-to-download - Download Paper here - For reference, Paper is a fork of Spigot designed to run more efficiently, with the added benefit of being way easier to get started. 99% of the time, Paper and Spigot jars are effectively interchangeable without issue.
Note also that many users like to rename the jar to paper.jar (ie, remove the version from the filename) to avoid having to alter the launch script you'll make in step 3.
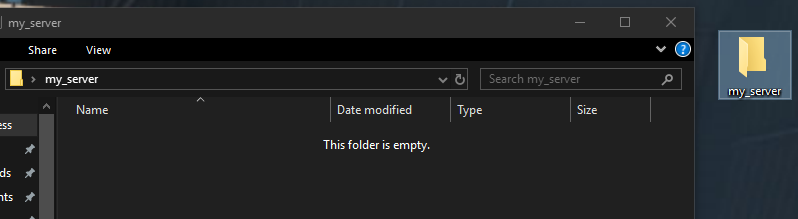
Step 2: Set up a server folder. You can just make a folder anywhere, even on your desktop, just make sure there's nothing else in the folder already (as the server will generate a bunch of files around itself). Put the server jar you downloaded into this folder.
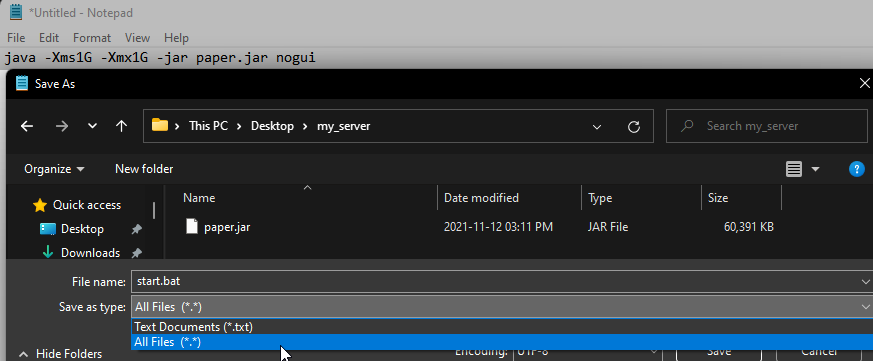
Step 3: Make a launch script. The simplest way to do this is to just open Notepad and create a file named
start.bat(be sure to save as 'all files', not 'text documents'). In this file, put the following:java -Xms1G -Xmx1G -jar paper.jar nogui... you can configure the specifics - the '1G' twice is how much RAM you want to give to the server (1Gmeans "One GigaByte of RAM", you can also type values like2Gfor 2 GigaBytes,500Mfor 500 MegaBytes, etc. If you change it, make sure to change both the 'Xms' and the 'Xmx' values.), and 'paper.jar' is the name of the server jar file. (On Linux or Mac, create astart.shfile and edit it with whatever your favorite text editor is. The command to include remains the same.)
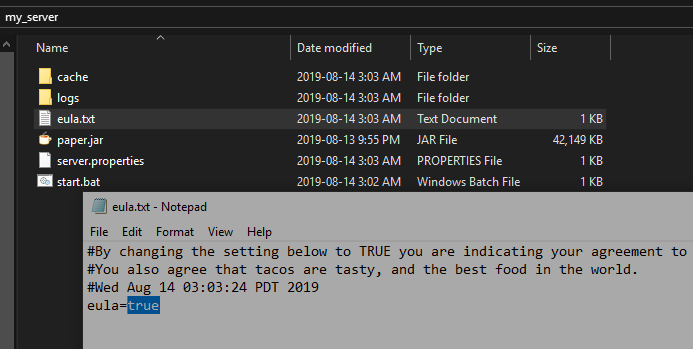
Step 4: Launch the server once. To do so, just double-click the start script file. If all goes well, a command line window will pop up for a minute, show a few messages, then disappear, and you'll have a new
eula.txtfile. Since Mojang is ruled by lawyers now, you have to open that file and changefalsetotrueto indicate that you accept the Minecraft EULA. Don't re-launch the server yet though.
Step 5: Add the plugins. Create a
pluginsfolder if you don't already have one, and download the latest jar file for Denizen, Citizens, etc. (any plugins you want to include) and place them into that folder. For your test server, you'll probably want to install the latest Developmental Build of Denizen - though for your production server, you'll generally want the latest Release Build of Denizen.

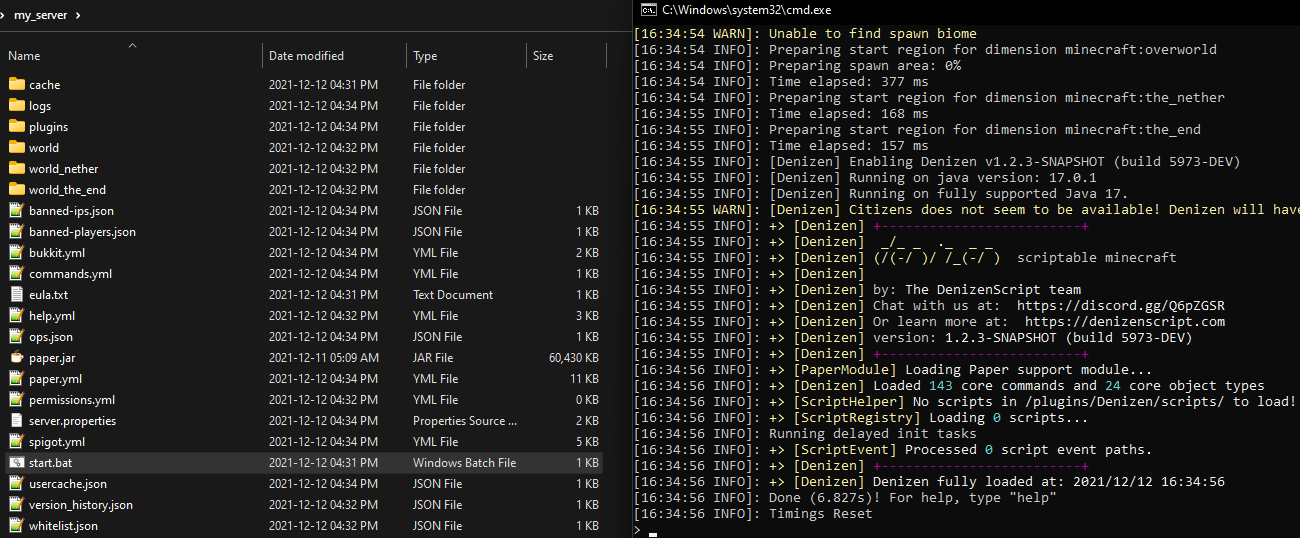
Step 6: Launch for the first real time. Run the start script again... this will take a moment to load everything the first time, but will load faster in future uses. Plugin folders, world data, etc. will be automatically generated.
Step 7: Join the server. Add a server in your Minecraft multiplayer menu, with the address set to just
localhost. This is an automatic address that just means "the server on the same computer I'm playing on". You should be able to join it fine if nothing went wrong (and if anything did go wrong, you should have an error message somewhere to look into or report). You can use the command line window to op yourself or whatever else you need. Keep this window in view, as debug output sent to that window will come in handy later.